We’re back!
Thank you for your continued support.
You can watch our Sunday Services on our YouTube channel (button below).
We go live every Sunday at 10am AEST.
CCLI License: 20694 | CCLI Streaming License: 16108
Click on the PLAY button in the image above to start your stream or click here to view the service through YouTube.
How to Connect Guides
Connect TV to Laptop
Connecting via HDMI is simple. All you require is a laptop or desktop computer with HDMI output (some PC laptops have them already and MacBooks usually use an adaptor) and a TV with an HDMI input.

Simply connect the HDMI cable to your computer’s output and connect the other end to your TV.
Here’s a short tutorial on how to connect via HDMI (not our video):
Connect TV via Chromecast
Connecting via Chromecast
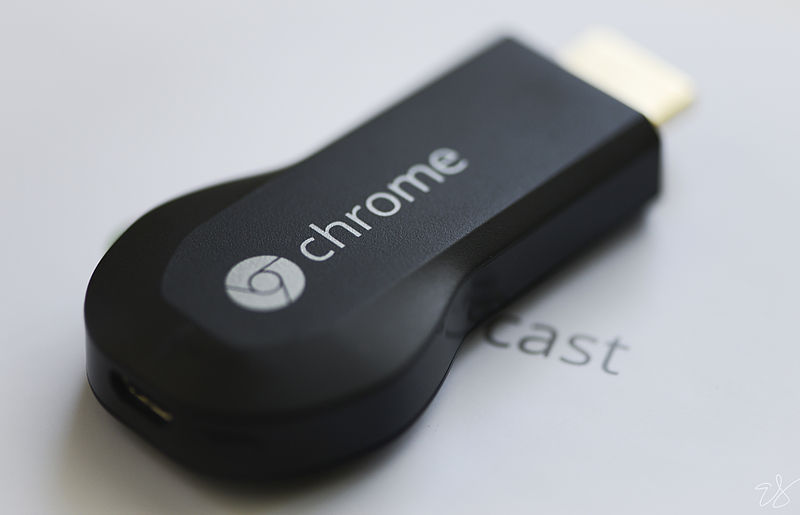
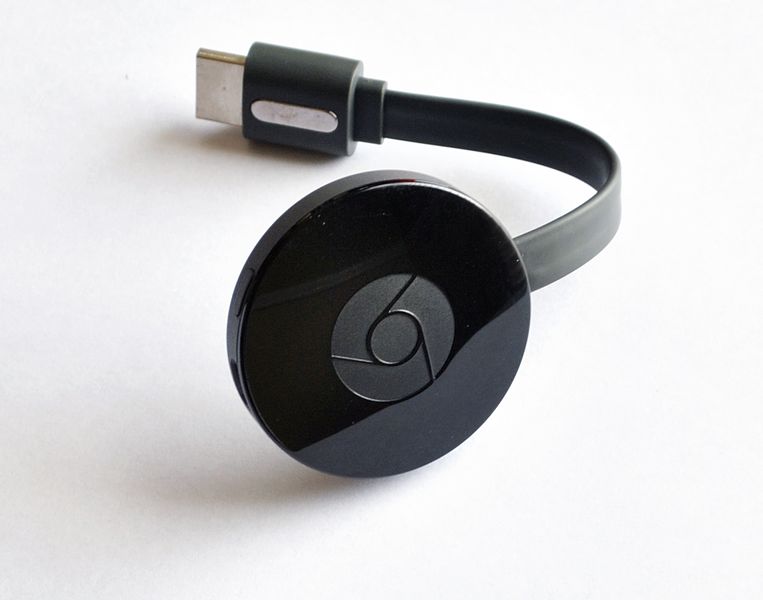
Chromecast is a device which allows your TV to access internet and streaming services via it’s HDMI input. There are several different generation Chromecast devices available (see bottom of the page), first generation device is on the left, latest generation is on the right. Both attach to the TV in the same way – HDMI input on your TV.
- First make sure you have the latest version of Chrome installed on your computer / device. Chrome is a browser similar to Safari, Internet Explorer, Firefox, etc… (download here: Google Chrome)
- Connect the Chromecast device to your TV via the HDMI input.
- Make sure that the Chromecast device and the machine you are using to play the video are on the same WiFi network.
- Next open Chrome on your laptop / desktop / device.
- Top right of Chrome should have More > Cast.
- Choose your Chromecast device and whats on your computer should appear on your TV.
If you have issues connecting your laptop / computer to Chromecast – click here for a troubleshooting guide from Google.
If you are using a device (mobile phone or tablet) download the Google Home app from the App Store or Google Play store. This guide gives an excellent description on how to connect a device to your TV via Chromecast. Click here for a troubleshooting guide from Google.
Connect via SmartTV
Connecting your SmartTV
Once your SmartTV is connected to the internet, use the following guide:
- Press Smart TV button on remote control
- Press “web browser“
- Type in the web site that to want to browser
- Press Enter button on remote control
- Finish
Though some some TVs may have a slightly different set up, most will follow a similar set up procedure.
Here’s a video from Panasonic explaining how to access websites:
For Android Users
There are several ways to connect your Android phone to your TV.
- You could use a cable from your phone to the TV. An HDMI cable to USB-C or whatever your Android device uses will connect you directly to your TV via the HDMI input.
- Screen Mirroring – on your phone, pull down the settings shade and find the cast button, tap this and it’ll share your screen to your SmartTV, Chromecast or Apple TV device.
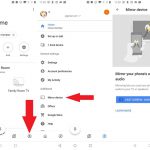
- Download and install Google Home app. Then navigate to Account > Mirror device > Cast screen to your SmartTV, Chromecast or Apple TV device.
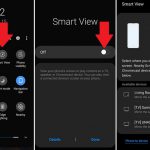
- If you are using a Samsung Galaxy, these devices have Smart View built in – simple select Smart View in settings and switch on. It will then give you options as to what devices are nearby which you can stream to. Select your SmartTV, Chromecast or Apple TV device!
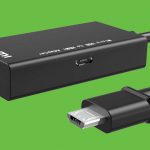
- Use an adaptor – a USB-C to HDMI adaptor gets you part the way there. Add an HDMI cable from the adaptor to the TV and you’re away.
- See below for instructions on Castify, an app which connects your Android device to your SmartTV, Chromecast or AppleTV if the other methods fail.
Castify.
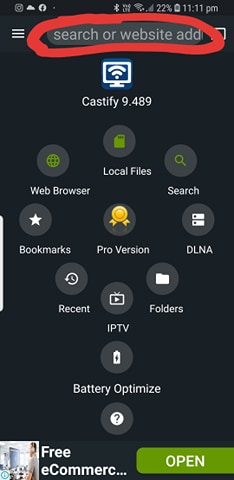
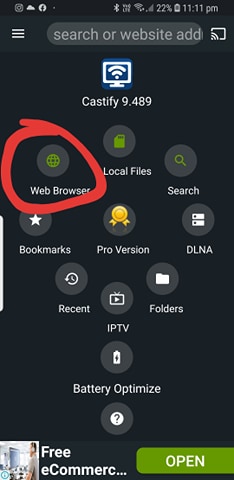
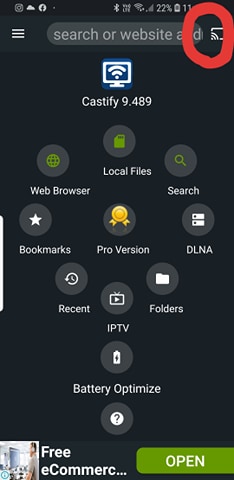
One the app is downloaded and installed, launch it on your device. Load the streaming site by either tapping the web browser icon on the screen or typing in the streaming site into the search bar at the top. Once this has loaded – tap the Cast button top right.
For Apple TV Users
Connecting Apple TV.
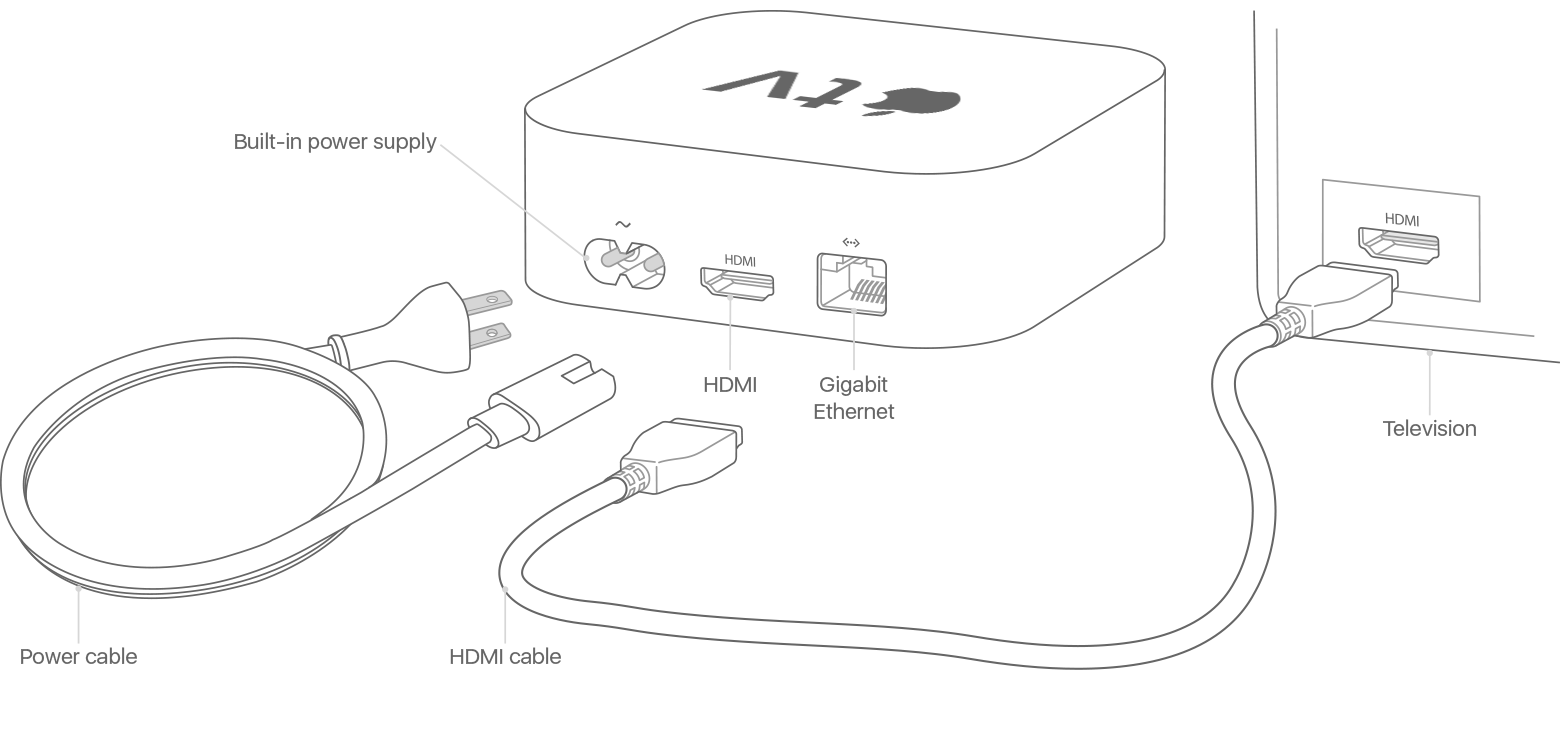
Fortunately Apple provide a comprehensive guide to streaming your MacBook, iMac, iPad or iPhone directly to your Apple TV device. To connect Apple TV to your TV set:
-
Plug into power and connect your TV. Connect the power cord to your Apple TV and plug it in to a power outlet. Then connect your Apple TV to your TV with an HDMI cable.
-
Turn on your TV and select the input. Turn on your TV and click any button on the Apple Remote to see the setup screen. If you don’t see the setup screen, check that you’ve selected the HDMI input that your Apple TV is connected to.
-
Select a language and connect to Wi-Fi. Use the remote that came with your Apple TV to select a language and connect to your home Wi-Fi network. To connect to the Internet using Ethernet, connect your Apple TV to your router with an Ethernet cable. Then wait for your Apple TV to complete setup. Once setup is complete, you’ll see the Home screen.
Once you’ve connected your Apple TV to your TV via the HDMI input, follow the instructions as illustrated here.
Viewing without Connections
For those without SmartTVs, Apple TVs, Chromecasts or other connecting devices:

First of all, its ok. Not everyone has the latest technology or gadgets and we’re doing our best to provide as many options for you as possible. However you may end up having everyone huddled around your computer or laptop to watch the live service (taking into consideration safe social distancing) if you are having major issues with your connections or simply don’t have any devices to make connections with. The most important thing is connecting to one another – making sure your group feels supported and connected to one another.
After the end of each service, the video will be posted at the bottom of the page, so you can rewatch it again another time – but only the sermon. At this stage our licensing only allows for streaming the worship but not playback.
YouTube - all the buttons and icons explained
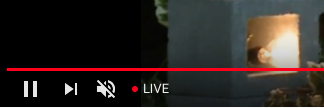
On the livestream video, there are several buttons and icons around the edges. Lets see if we can explain a bit about what they do:
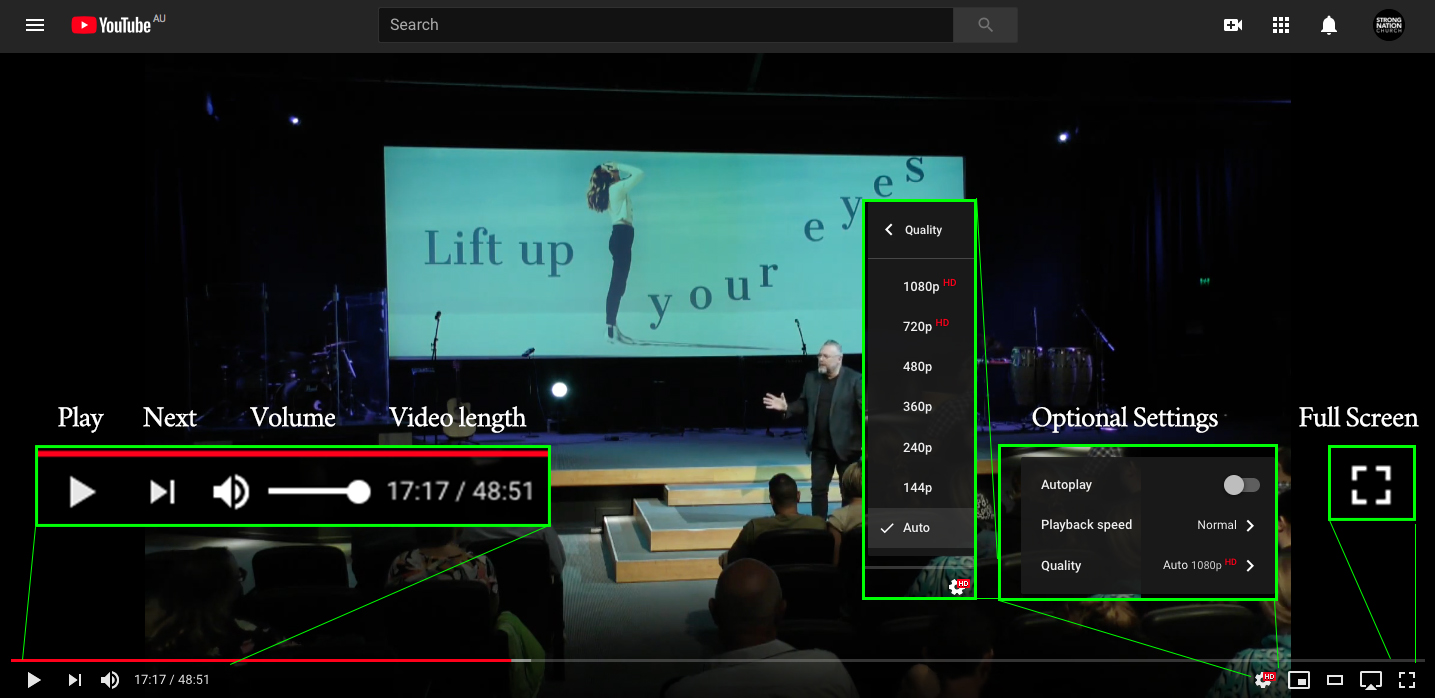
You might find that your video is jerky or keeps stopping, clicking the settings icon (gear), opens a new set of options. Click Quality and select a lower setting. 1080HD is the highest setting and will give you the very best picture, but if your internet cannot handle this level, you may wish to try 720HD or even 480. The larger the screen you are watching the stream on, the quality of the image will decrease as you move further down the list of resolutions. You might find 720HD is ok if you take the video back a minute or two to allow the stream to cache (store up the video before playing).
During the livestream, you might not see the next button or the video length display.
Remember to have the YouTube volume up to full and adjust the room volume using your TV or computer volume control.
Tips
Should you encounter any technical issues, please see the following:
Blank screen or spinning icon – refresh your browser and try again.
Audio echoing – check to see if you have more than one stream page open at a time, close all but one.
No audio – are your speakers turned down, the sound off, headphones plugged in?
If you are still experiencing difficulty, also consider other memebers of your group and the devices they own. Maybe one of theirs will connect with more ease to a TV or device than your own.
During the live stream, if you suddenly find yourslf seeing the countdown again in the middle of the sermon, check the red LIVE icon at the bottom of the page. Sometimes YouTube will start the stream over. If htis happens, click the LIVE icon for it to catch up. The red light means the stream is LIVE.

